How to pour a small concrete slab
A step-by-step guide to pouring a shed pad, landing or small slab: call 811, build the base and forms, place and finish the concrete, and cure it properly.
7 min read · Updated ·
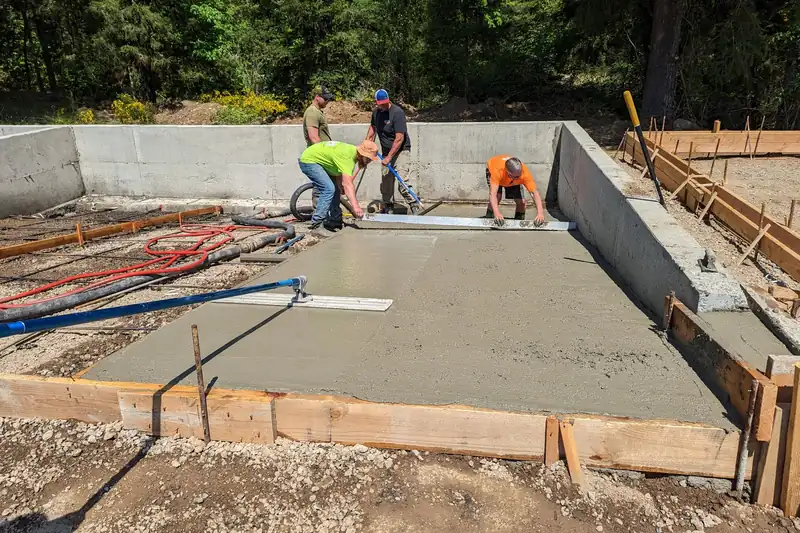
A small slab — a shed pad, AC pad, landing or walkway — is a realistic DIY project if you prepare well. Most failures come from the base and the curing, not the pour itself.
1. Call 811 before you dig
Call 811 (or use your state’s online ticket) a few business days before digging so buried utilities are marked. It is free, and in most states it is required. See how 811 locates work.
2. Excavate and build a firm base
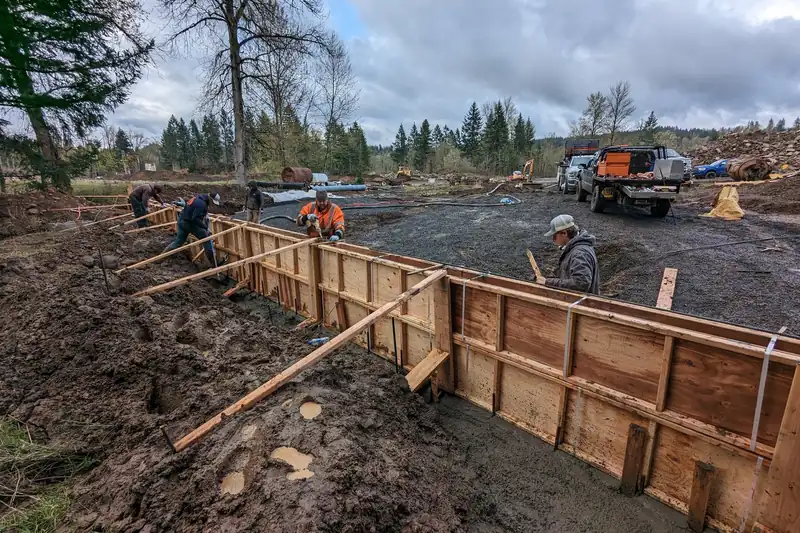
Remove sod and soft topsoil. Most slabs sit on a layer of compacted crushed gravel over firm, undisturbed soil. Compact in thin layers with a plate compactor — see gravel bases for concrete. Rent a compactor from an equipment rental yard if you do not own one.
3. Set forms with a slight slope
Use straight lumber staked every few feet, with the top of the form at finished slab height. Give outdoor slabs a gentle slope so water runs away from buildings; check it with a level and string line before you order concrete.
4. Reinforcement
Many slabs use welded wire mesh or a rebar grid. It only helps if it sits within the slab, not on the dirt — support it on chairs or concrete blocks. A rebar and supplies yard can cut and bend bars to size.
5. Place, screed and float
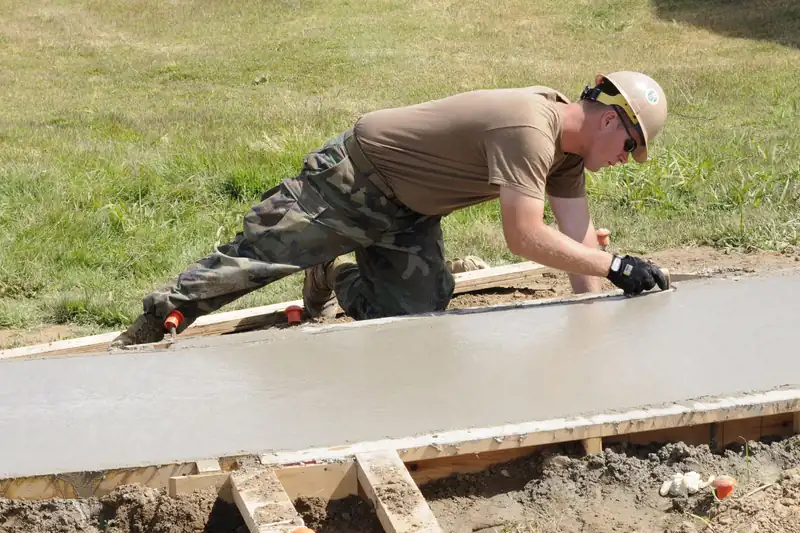
- Have helpers, a wheelbarrow, shovels, a straight 2×4 or screed board, a bull float or hand float, an edger and a groover ready before the truck arrives.
- Fill the forms slightly high, then strike off (screed) with a sawing motion across the form tops.
- Float the surface to push down aggregate and close it up.
- Wait for the surface water (bleed water) to disappear before final finishing — working water back into the surface weakens it.
- Run an edger along the forms and cut control joints with a groover, then broom for a non-slip finish outdoors.
6. Control joints
Concrete shrinks as it dries and will crack; control joints tell it where. A widely used rule of thumb is to space joints no more than about 2 to 3 times the slab thickness in feet (so roughly 8–12 ft for a 4 in slab), cut about one quarter of the slab depth, keeping panels close to square.
7. Cure it — don’t skip this
Keep the slab moist and protected for the first several days: cover it with plastic or curing blankets, mist it, or use a curing compound. Fast drying, hot sun, wind and freezing temperatures are what ruin new slabs. In cold weather, read curing concrete in cold weather.
Ordering the concrete
Use the patio concrete guide to work out cubic yards. For a yard or two, short-load or volumetric suppliers avoid big minimums; see ordering a short load. If the job grows, a concrete contractor can take it on.
Common questions
Do I need gravel under a concrete slab?
Most slabs are placed on a compacted granular base over firm soil. It gives uniform support and helps drainage. Your local code or engineer may set specific requirements.
When do I cut control joints?
With a groover while the concrete is still plastic during finishing, or with a saw soon after it hardens enough not to ravel — usually within the first day.
Sources
General information only. Codes, soils and climates vary — check your local building department and follow product instructions.